A home upgrade can be a great way to increase the appeal and value of your property. Installing a fence is one of the most popular home improvement projects, as it provides both aesthetic and functional benefits. Fences are an attractive addition to any yard; they give you more privacy, highlight your landscaping, and create a safe environment for kids and pets.
At Rockhampton Fencing Experts, homeowners owners can rest assured that their fencing needs are in the right hands. They provide quality services that guarantee customer satisfaction while delivering on their promise of superior craftsmanship. From timber, aluminium, colorbond, pool, and glass pool fencing, customers will have access to a wide selection of materials and designs or colours to choose from.
Step 1: Selecting a Fence Style
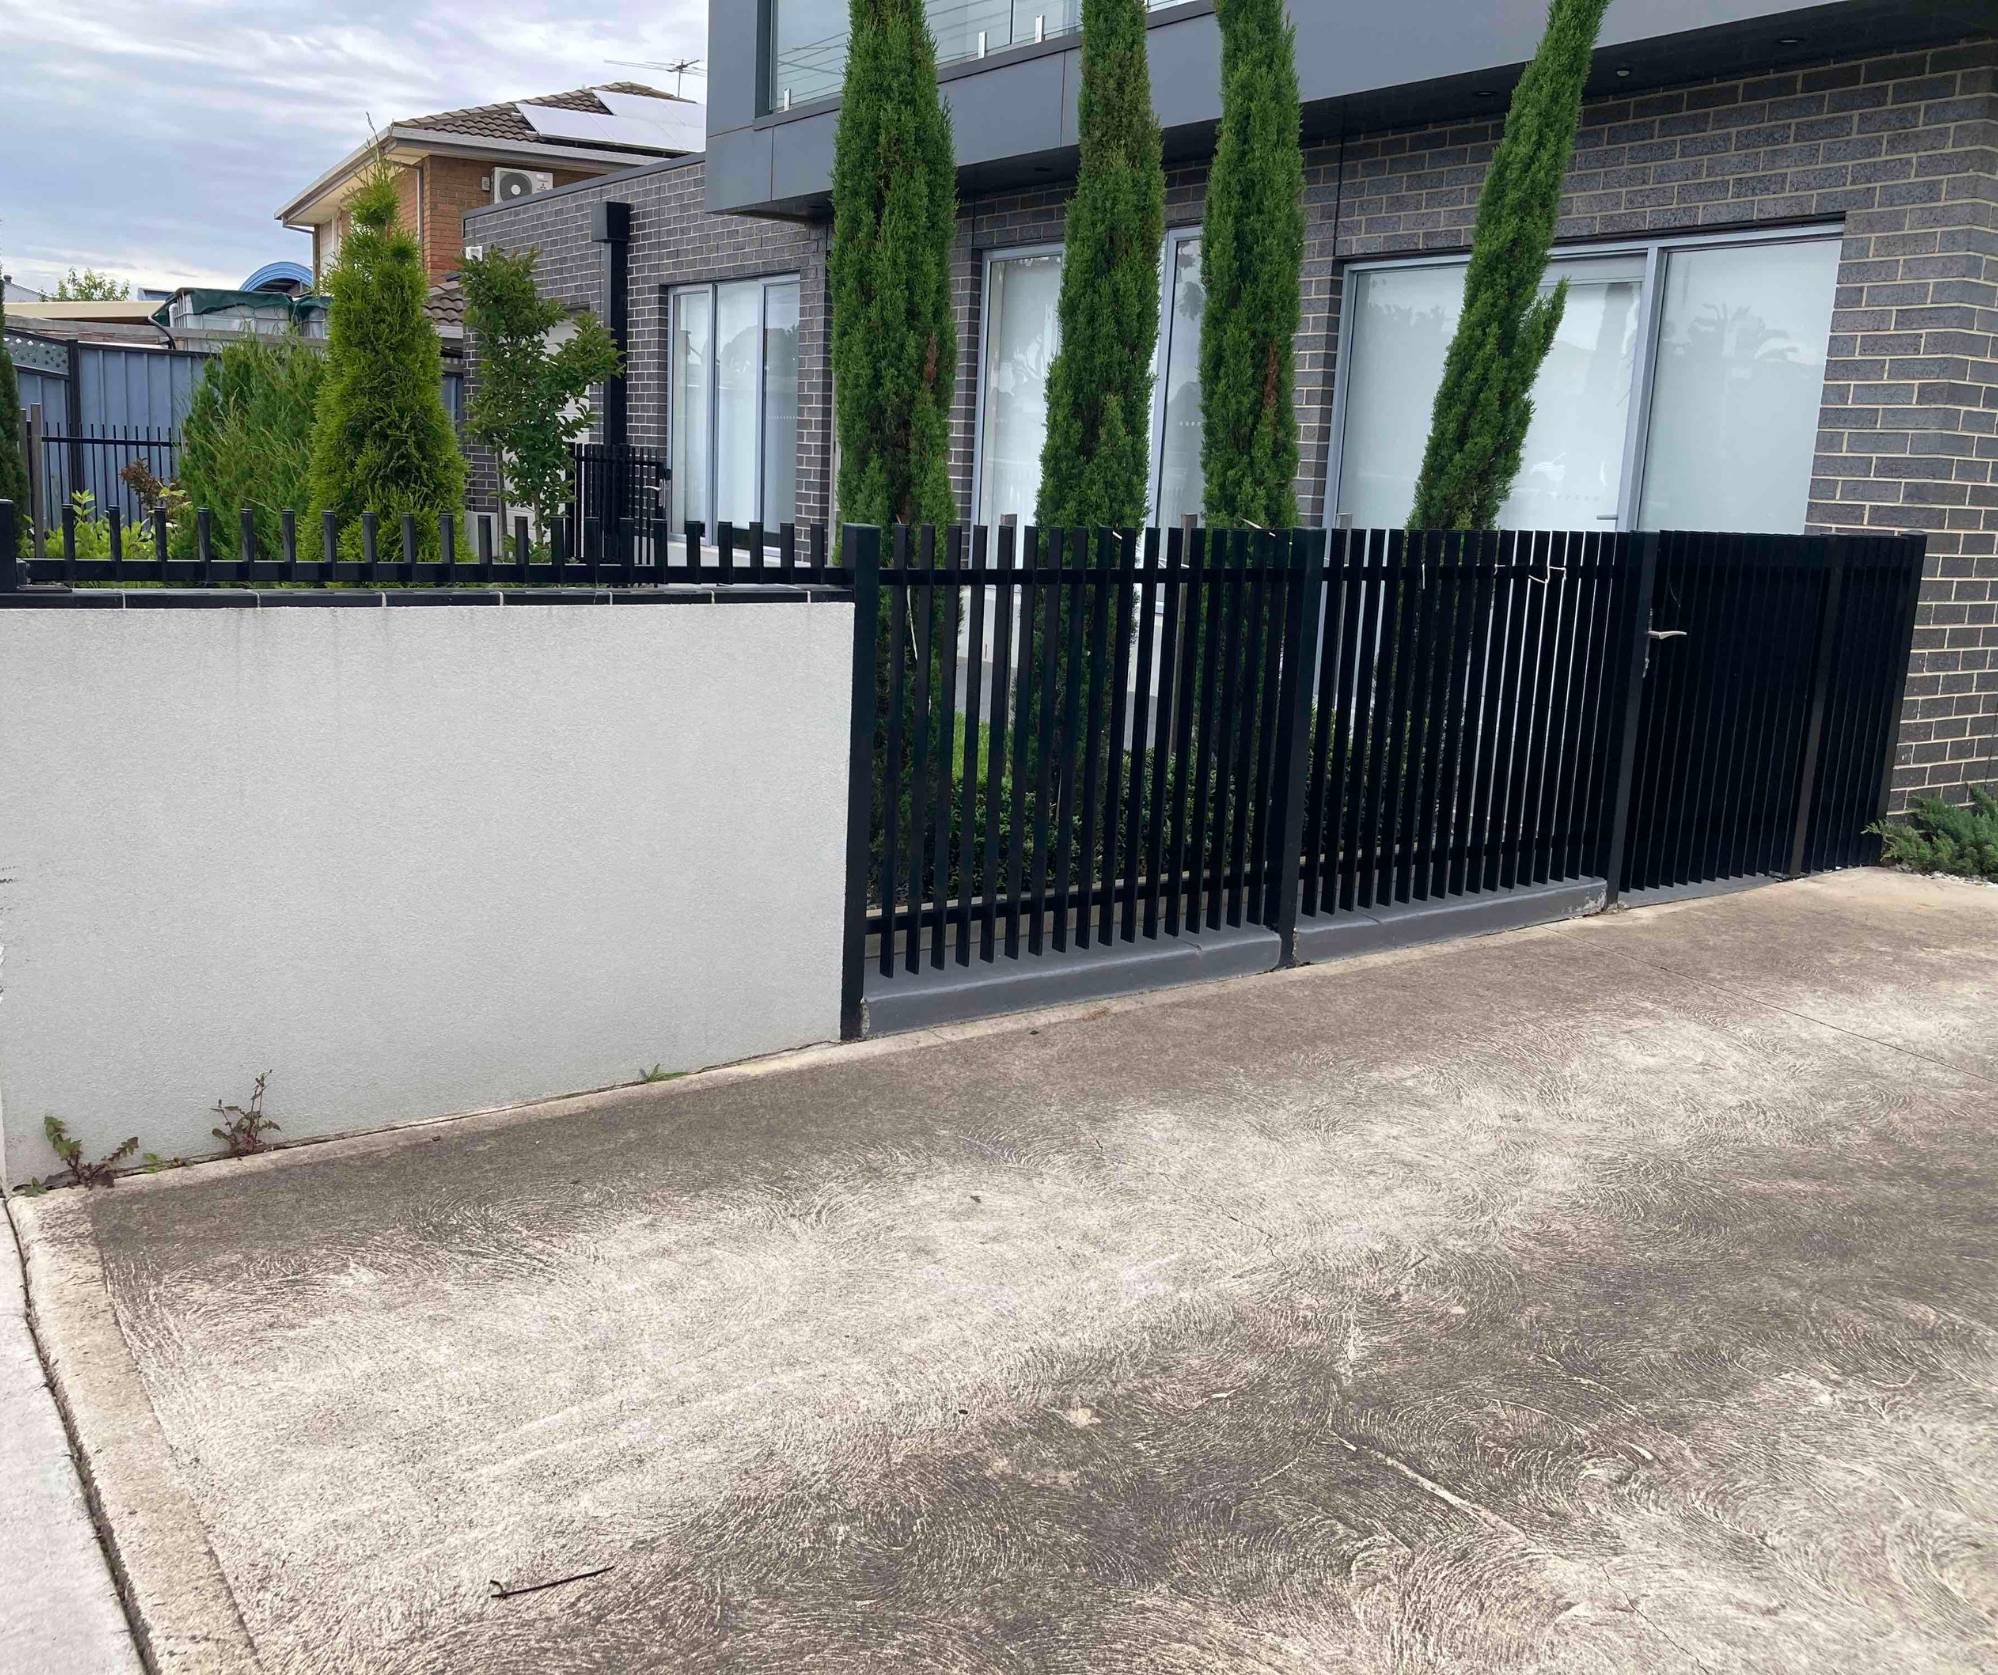
The market offers various types of fencing materials that come in different sizes, shapes and colours. Timber fences are popular because they provide a natural look while also offering great durability. Timber fencing can be installed in straight or curved designs. Aluminium fences are available in a range of colours, shapes and sizes. They are also easy to clean and can be installed on sloping ground without the need for additional support. Colorbond fences are very durable fences and might be a good option if you have kids. It comes in a variety of colours, so you can choose the one that will match your home and garden perfectly.
Step 2: Measuring the Yard
This step is simple, but it must be done correctly for the rest of the project to proceed properly. First, use a measuring tape to measure the length of all four sides of your yard that you plan on fencing in. If there are any areas with curves or angles, use an extra piece of wood cut into a right angle and place it at those spots before using a measuring tape again. Note down all measurements on paper or in a spreadsheet so they don’t get forgotten later on. Make sure you double-check all measurements before proceeding so there will be no surprises when the material arrives at your door! Once these measurements are confirmed, you can move forward with selecting fence materials and designs or colours that will best meet your needs and budget.
Step 3: Researching Local Regulations
Once you have decided on the type of fence that best suits your needs, it’s time to turn your attention to local regulations. Researching local regulations is a crucial step in upgrading your home with a fence, as failure to do so could result in noncompliance fines or even damage removal orders from local authorities.
Start researching local regulations by having a look at any relevant information from your neighbours or other nearby homeowners who have recently installed fences. They may provide you with valuable insights regarding the process of getting approval before beginning construction work. After this, it’s advised for anyone considering installing a new fence to thoroughly read up on all state or territory-specific regulations as well as those that apply nationally across Australia.
Step 4: Hiring Professional Help
Depending on the size of your project and the materials you’re using for your fence, it may be wise to call in a professional fencing contractor. Professional fencing contractors come with years of experience and knowledge that can help make sure the job is done right and safely.
Not only can they provide advice on what type of materials are best suited for your particular project, but they will also have access to various supplies and tools that aren’t necessarily available to the average homeowner. Professional fencing contractors not only build fences, but they can also repair or replace existing ones as well. They understand exactly how much pressure each material needs during installation so that it lasts longer and withstands all kinds of weather conditions.
Step 5: Choosing Materials
A fence is an easy and inexpensive way to upgrade your home. With the right materials and planning, you can build an economical and attractive fence that will last for many years. Before building your fence, consider factors like the size of your yard, how much privacy and security you need, what type of material to use, and the cost associated with building it. If you opt for timber fencing materials such as pressure-treated pine or cedar planks, make sure that they are treated for outdoor use in order to prevent water damage and rot.
Step 6: Installing the Fence
Installing the fence is an important step in upgrading your home with a fence. It is important to follow all steps carefully when installing the fence, as it will ensure the quality and longevity of your new fence. When it comes time to install the fence you should have all of your materials ready. You’ll want to begin by marking out where you want your posts and making sure they are properly aligned. The posts should be dug at least three feet into the ground and filled with concrete for stability. Once they are secure, use screws or nails to attach each panel of fencing to its post. Make sure each screw or nail is firmly secured so that no one can slip through any gaps in the fencing panels! Finally, take extra care when installing gates as these may require additional support beams and hinges depending on their size.
A new fence can turn a plain property into an attractive, inviting outdoor space. Whether you choose a natural wooden look or something more modern and stylish, your upgraded home is sure to be the envy of friends, family, and neighbours alike.
Keep in mind that proper installation and maintenance are essential for getting the most out of your new fence. By taking the time to plan out what type of fence will best suit your needs and budget, as well as regularly inspecting for damage or needed repairs, you can keep your upgraded home looking its best for years to come. Elevate your property’s security and aesthetics with the best fencing contractors in Rockhampton.